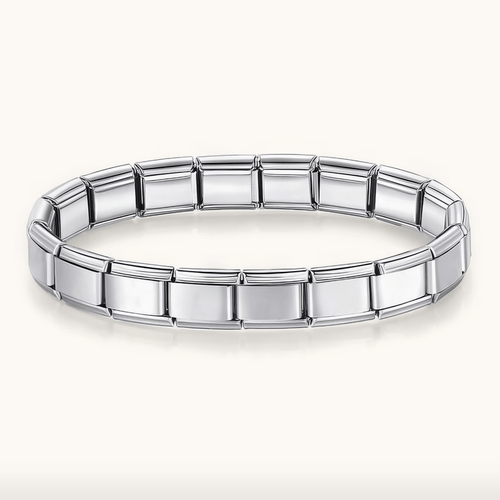


How To Build Your Bracelets
Follow this simple guide to customize your bracelet step by step. We recommend 17–20 charms for a balanced, comfortable fit; using fewer can cause pinching or hair snagging, while the right number keeps your bracelet looking full and feeling great.

Tools You’ll Want (But Aren't Necessarily Required)
Before you start, gather a few simple items to make the process smooth and safe:
- Charm opener tool (or small flathead/coin) – This helps gently separate the spring links without bending them.
- Soft cloth or towel – Lay your bracelet on a padded surface to prevent scratches and keep charms from rolling away.
- Good lighting – Bright, even light makes it easier to see the tiny slots and align charms correctly.
Having everything ready keeps your bracelet protected and makes customizing quick and stress-free.
Adding A Charm
1) Open the Link
Hold the bracelet so the charm’s arrows face up. Insert the charm opener or a small coin into the slot and gently twist until the spring link opens.
2) Slide the New Charm
Align the new charm’s hook with the open link and slide it in.
3) Close Securely
Let the spring snap shut and check that it sits flush with the neighboring charms.
Removing a Charm
1) Open the Adjacent Link
Use the opener to gently release the link next to the charm you want to remove.
2) Slide the Charm Out
Carefully pull the charm free.
3) Close or Replace
Snap the link closed or add a new charm.
Safety, Care & Troubleshooting
For best results, work on a soft surface to avoid scratches and use gentle pressure—never force the spring. Using our Charmette Charm Opener Tool makes the process even safer, giving you better leverage and making it far less likely to bend or damage your bracelet. Before wearing, wipe your bracelet with a microfiber cloth to keep it shining. If a link feels stiff, a tiny dab of clear dish soap on a cotton swab can loosen it, and if a charm won’t click in place, double-check its orientation since each charm has an up and down side.

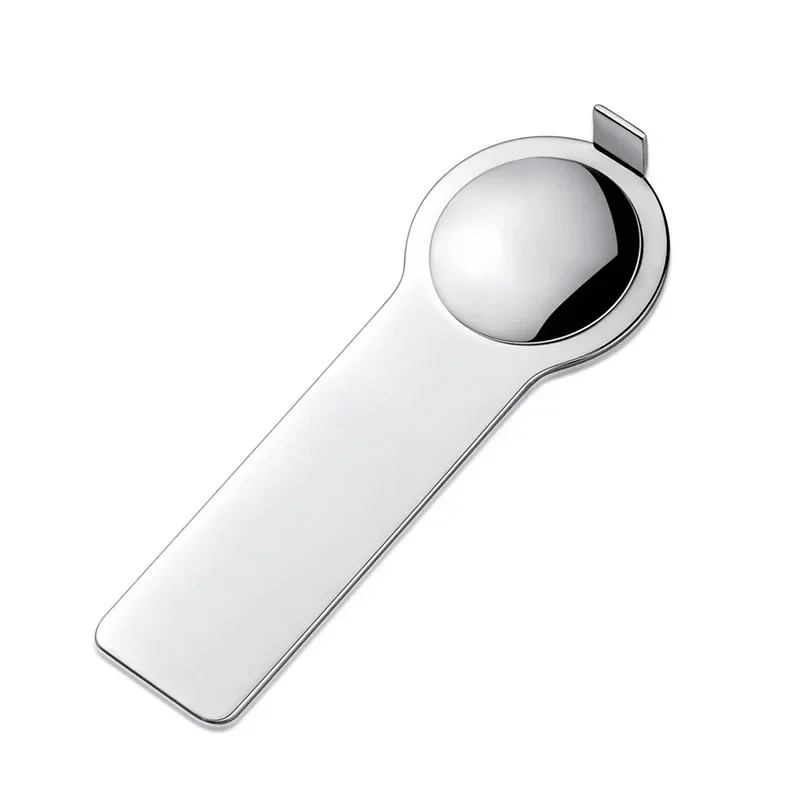
Charm Tool
Charm Tool
 Protects Your Bracelet
 Effortless Customizing
 Compact & Durable
Couldn't load pickup availability
Charm Tool Details

Charm Tool Details
Crafted from polished stainless steel, the Charmette Charm Tool is designed for effortless, damage-free bracelet customization. Its slim, ergonomic tip slides easily into the spring link, giving you smooth leverage without scratching or bending the metal. Compact and durable, it’s perfect for quick swaps at home or on the go.
Our Guarantee

Our Guarantee
We stand behind every accessory we sell. If your Charm Tool causes any damage to your bracelet or fails to perform as promised, contact us within 20 days of purchase and we’ll provide a full refund or replacement—no questions asked.
Lifetime Bracelet Warranty

Lifetime Bracelet Warranty
Every Charmette bracelet is backed by a lifetime warranty. If it ever breaks or experiences a defect from normal use, we’ll repair or replace it free of charge so you can keep customizing for years to come.